Why does a cleanup that looked finished still fail a walkthrough the next morning? Many treat post-construction cleaning as ordinary housecleaning with more rags. Same order, just longer. That habit is what turns a wet mop into gray mud and sends a crew back through rooms they already called done.
Ask any crew that has redone a finished cleanup. The difference between a smooth job and a do-over is sequence, not effort. This post construction cleaning checklist follows the eight steps professionals use, from bulk debris through the final walkthrough. Drywall dust stays off the floors, wet work never hits loose powder, and the home is actually ready for inspection or move-in.
Each step names the work, the tools that matter, and the mistake that costs the most time. I clear what you can see first, lock down the fine dust next, and only then touch glass, floors, and fixtures. Swap that order and the next pass undoes the last one.
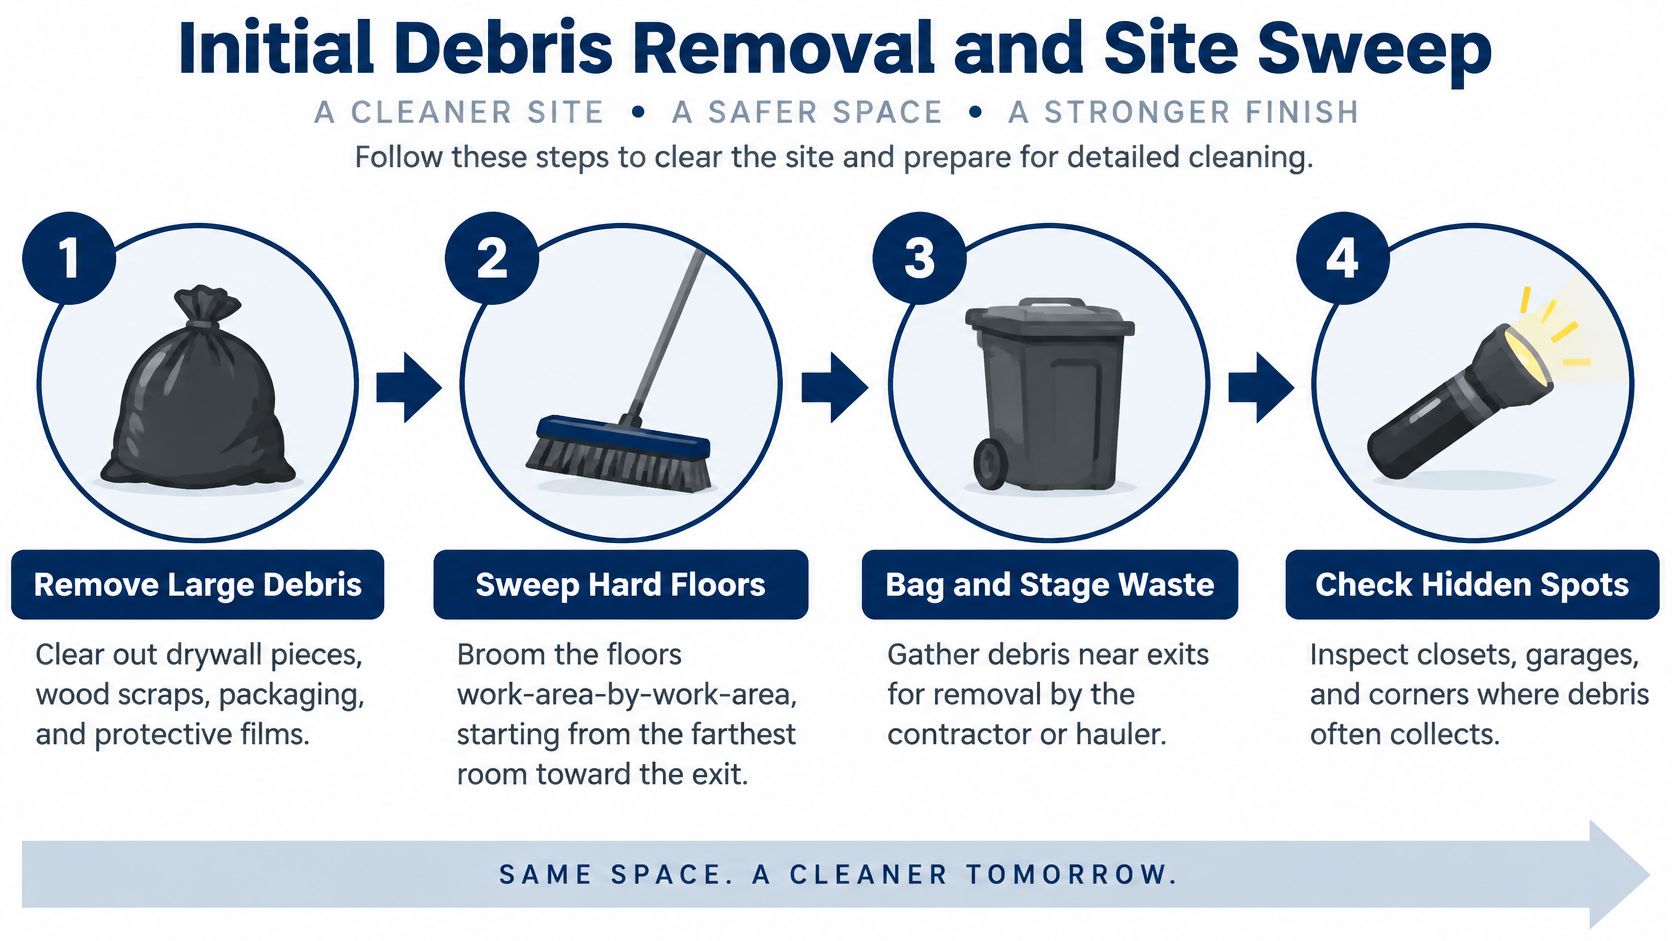
1. Initial Debris Removal and Site Sweep
A renovated kitchen still full of drywall scraps and cabinet boxes is not ready for a cloth. If you wipe first, gypsum rides the rag onto counters and gets walked back across the floor you just cleared. Bulk waste comes out before any fine cleaning starts.
The scale is why this step is a plan, not a quick tidy. The U.S. Environmental Protection Agency estimated that construction, renovation, and demolition generated approximately 600.33 million tons of debris in 2018, more than twice U.S. municipal solid waste that year. About 143.78 million tons of that stream went to landfill. Your job will not move a national total, but the same mix shows up in one house: aggregate, packaging, offcuts, and manufactured-product scraps that do not belong in a kitchen trash bag.
OSHA's construction housekeeping rule, 29 CFR 1926.25, already requires work areas, passageways, and stairs to stay clear of scrap lumber, protruding nails, and other debris, with containers for waste and regular disposal. The turnover sweep extends that into every room and exit path.
What goes out before anyone wipes
On a multi-unit build-out, stage debris in one area per floor for the builder's dumpster. Don't scatter bags through hallways you will walk later.
- Confirm the split: Ask the contractor which leftovers are construction waste and which pieces are still installed materials.
- Walk away from the exit: Start in the farthest room so nails and scraps are not tracked through space you already cleared.
- Control the sweep: Use a sweeping compound or a light damp pass. A dry broom throws gypsum back into the air.
Practical rule: If you can still kick a scrap with your boot, you are not ready for a vacuum.
Ordinary sweeping is not abatement. If the project involved regulated asbestos-containing material, qualified parties handle that work. A standard crew does not dry-sweep it and call the room clean.
2. HEPA Vacuuming of Surfaces, Vents, and Crevices
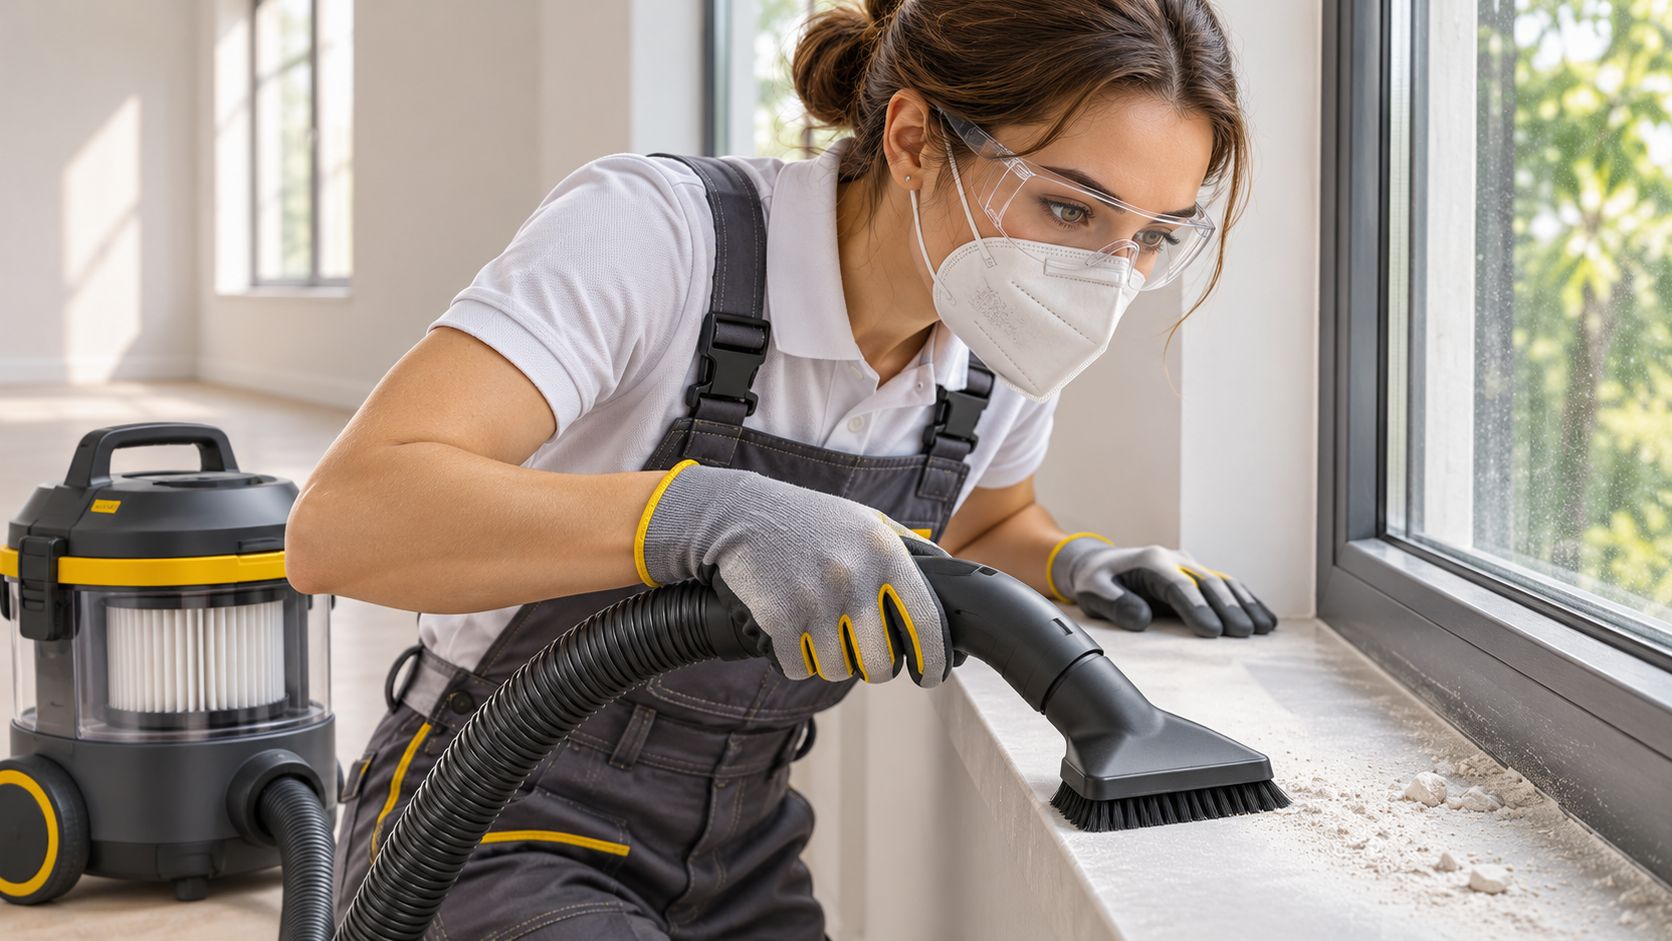
After drywall sanding, the dust you still see on a sill is the easy part. The rest sits in tracks, cabinet corners, and register slots. A shop vac without the right filter blows that fraction back into the room.
OSHA defines a HEPA filter as at least 99.97% efficient at 0.3-micrometer particles. Where residue may include crystalline silica from concrete, mortar, tile, stone, drywall, or engineered stone, OSHA's silica guidance for construction calls for HEPA vacuuming or wet methods and bars dry sweeping or dry brushing when those methods could add to respirable-silica exposure. Compressed air for cleanup is restricted unless dust is captured or no safer option exists.
Top down, then the air system
On a drywall finish, vacuum ceilings, vent covers, and window tracks before any wet wipe. On a condo turnover, pull sanding dust from HVAC registers before a buyer's walk. EPA remodeling guidance recommends sealing supply and return registers and leaving heating and cooling off until dust cleanup is done, and using HEPA equipment when vacuum exhaust stays indoors. Vacuuming can kick dust back up, so wait and look again before you restart the system.
- Work high to low: Ceilings and fixtures, then walls and trim, then floors. Falling dust should land on a surface you have not finished.
- Log the filter: A clogged HEPA cartridge kills suction. Note condition, completed passes, and spots you cannot reach.
- Leave ducts alone until covers are clean: Running the blower first pushes dust deeper. Everyday dust control after move-in is a different job, covered in this guide on how to reduce dust in the house.
If a ledge stays gritty after two slow passes, mark it for the contractor. More vacuuming will not fix a cavity you cannot reach.
3. Dust Wiping of Horizontal and Vertical Surfaces
Vacuuming lifts loose powder. It does not finish a film on a door casing or a switch plate. Wipe too early and you drop that film onto floors you will only have to redo.
Microfiber beats paper towels here because the fibers hold particles instead of smearing them. Dampen the cloth. Do not soak it. Water on fresh paint or unfinished wood leaves marks that look like missed dust under inspection lighting.
A new-build inspection often fails on small hardware, not on the floor. Every switch plate, door frame, and ceiling-fan blade gets a pass before a municipal walk. In a townhome, baseboards and sills often need a second wipe after floors are done, because mopping throws a light film back up.
Cloth discipline that actually saves time
A soaked cloth does not clean faster. It glues dust to paint and leaves a tide line you will see in daylight.
- Split the cloths: One stack for dry dust, one for cleaner. Fold to a clean face as soon as the cloth grays.
- Fans and lights first: Drips from a fixture land on walls and floors. Wipe those before you drop to baseboards.
- Edges, then fields: Door stops, outlet covers, and shelf lips hold the residue flat centers do not.
If a surface still shows a white haze after a damp microfiber pass, stop adding water. That haze is often compound or paint mist, and it belongs with the glass and residue steps, not with another wet rag.
4. Window and Glass Cleaning with Film and Paint Removal
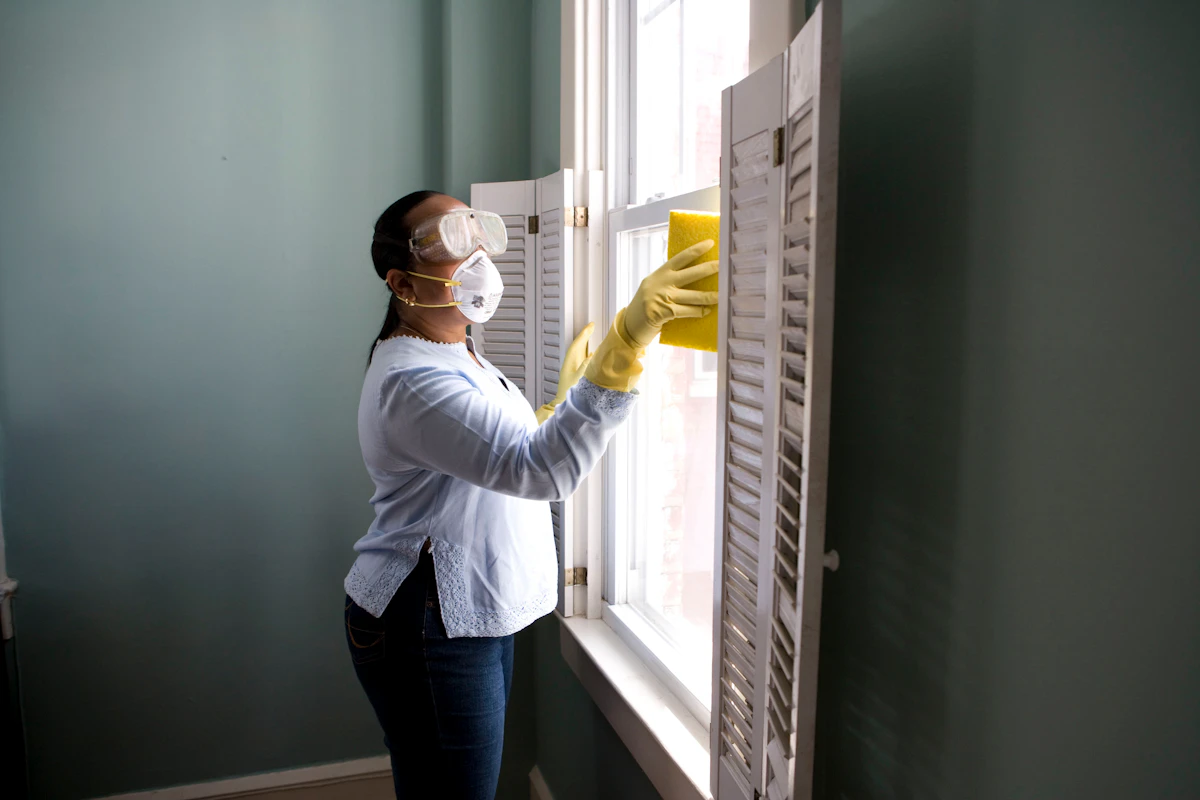
Routine glass cleaner will not lift plaster specks or paint overspray. Scrape dry glass and you will cut a permanent arc into the pane. This step sits after dust wiping so grit is already off the frame, and before wet floors so you are not standing in a clean mop film while you work a blade.
Wet the pane first. Keep a new single-edge blade flat. On a listing photo day, overspray on double-pane glass is the flaw the camera catches. Test any scraper on a hidden corner of tinted or low-E glass before you commit to the whole unit.
For tracks, brush and vacuum before you wipe. Grit left in the channel rides the cloth onto the glass and scratches it. New-build townhouse tracks and sills should be empty before the first occupants hang blinds.
Watch a controlled scrape and track clean so the blade angle is obvious before you try it on coated glass.
What the blade cannot fix
Protective film and adhesive come off with a plastic card and a citrus or manufacturer-approved remover, not with a metal edge on the frame. If the coating is still soft, wait. EPA indoor-air guidance for remodeling recommends maximum ventilation during installation and for at least 72 hours after paints, finishes, and some flooring work that can off-gas. Damp-wiping dust helps, but ventilation continues while odors remain. Cleaners remove residue. Contractors own cure times, and pre-1978 homes need lead-safe renovation rules, not a standard rag.
5. Floor Cleaning Vacuuming, Mopping, and Residue Removal
Floors go late on purpose. Every earlier step drops something. Mop a tile floor while window work is still underway and you will mop it twice.
Vacuum or sweep until the machine cup is nearly empty, then wet anything. A tile job with cured thinset often shows grout haze. A neutral pH cleaner and a soft brush lift it without etching the face. On hardwood, a plastic scraper and a mild cleaner take paint drips. A metal blade gouges the finish, and a harsh solvent can dull it. Check the floor maker's sheet before you open a remover.
Water management
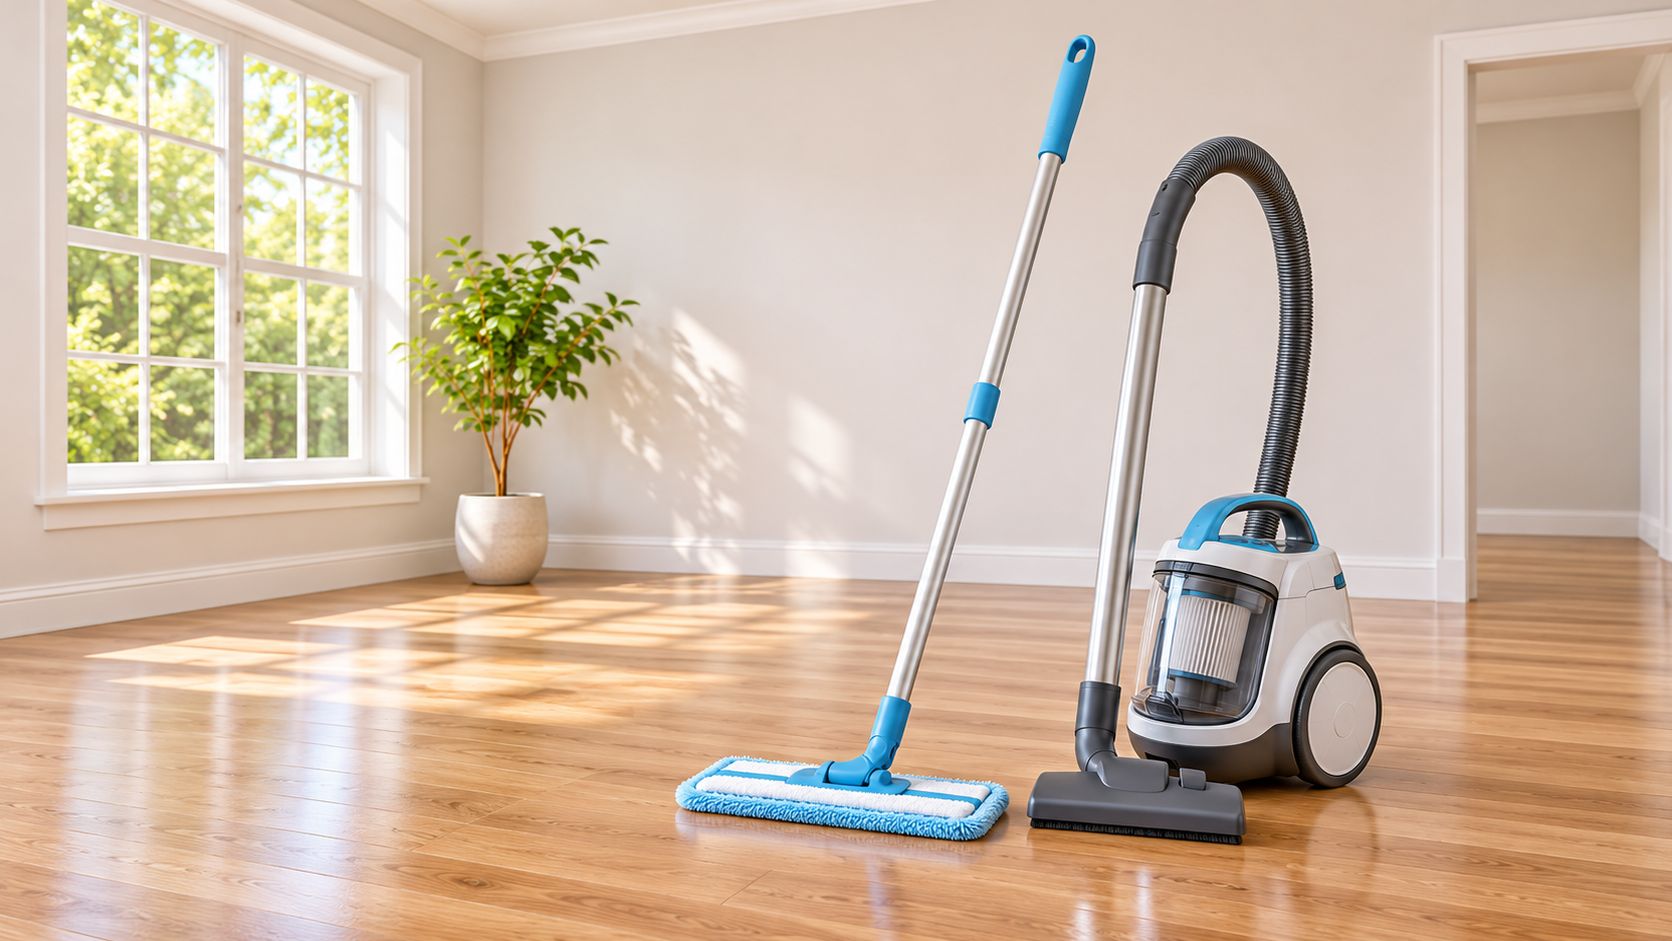
Change the bucket as soon as the water clouds. Dirty water redeposits the dust you just lifted, which is why a “one bucket for the whole house” mop fails every time.
- Sections, not laps: Finish a zone, rinse, and move. Overlap only on a dry edge.
- Carpets last among floors: A HEPA pass after hard floors are done keeps grit off the vacuum head.
- No standing water on new grout or fresh finish: If the surface is still curing, note it and come back.
If the mop water turns gray on the first pass, you skipped the dry pickup. Dump it and vacuum again.
For the everyday reset after construction dust is gone, the sequence in deep cleaning floors is the maintenance version, not a substitute for this residue pass.
6. Bathroom and Kitchen Fixture Detailing
Cement splatter on a new tub and caulk smears on a sink are what buyers touch first. Floors can look perfect while a faucet aerator is packed with drywall dust. This step waits until floors are stable so you are not grinding grit into acrylic while you lean in.
Use a plastic scraper on acrylic and porcelain. Metal blades leave silver trails that no polish hides. On a new bath, lift cement dots, then wash with a non-abrasive cleaner. On a kitchen handover, detail appliance exteriors, cabinet faces, and the basin before anyone calls the inspector.
Finishes that punish the wrong bottle
Ask the installer which chemistry is safe for stone, matte black, and specialty coatings. Vinegar on marble etches. Abrasive powder on a new stainless sink clouds the grain. Flush each faucet and wipe the aerator so the first run of water does not spit white paste.
- Tubs and showers: Plastic edge only, then a non-scratch pad on mineral film from installation, not on the factory gloss.
- Sinks and faucets: Remove aerators, rinse, and reseat them. Wipe handles where hands will test them.
- Cabinets outside: Fronts and pulls now. Interiors are the next step, or you will re-dust the face when you open a drawer.
A full bath reset after move-in follows a different list. See how to deep clean a bathroom once construction film is already gone. During turnover, stop at residue and splatter. Sanitizing a surface that still has thinset on it only seals the mess in.
7. Interior Cabinet, Closet, and Drawer Cleaning
Closed storage is where “we cleaned” falls apart. A new condo kitchen can photograph well while pantry shelves hold sawdust and a drawer still has a painter's label. Owners find that on night one.
Vacuum every interior before a cloth goes in. Wiping first smears chips into corners and onto the face frames you finished in the fixture step. Pull drawers and shelves when the hardware allows so you can reach the carcass behind them. A rental turnover should treat closets and built-ins the same way, because tenants unpack into those boxes first.
The film and the label
Protective film on a shelf looks clean until it peels and leaves adhesive. Lift film, then wipe with lightly damp microfiber. A soaked cloth swells particleboard edges.
- Order inside the box: Vacuum top, sides, and bottom, then wipe, then replace the shelf.
- Hardware check: Confirm soft-close slides are free of grit before you push the drawer home.
- Leave a note: If a carcass still sheds from an unpainted edge, that is a builder item, not another wipe.
I would rather spend the extra minutes here than explain sawdust in a “finished” pantry. Skipped interiors are the complaint that shows up after you have left the site.
8. Final Walkthrough and Punch-List Touch-Up
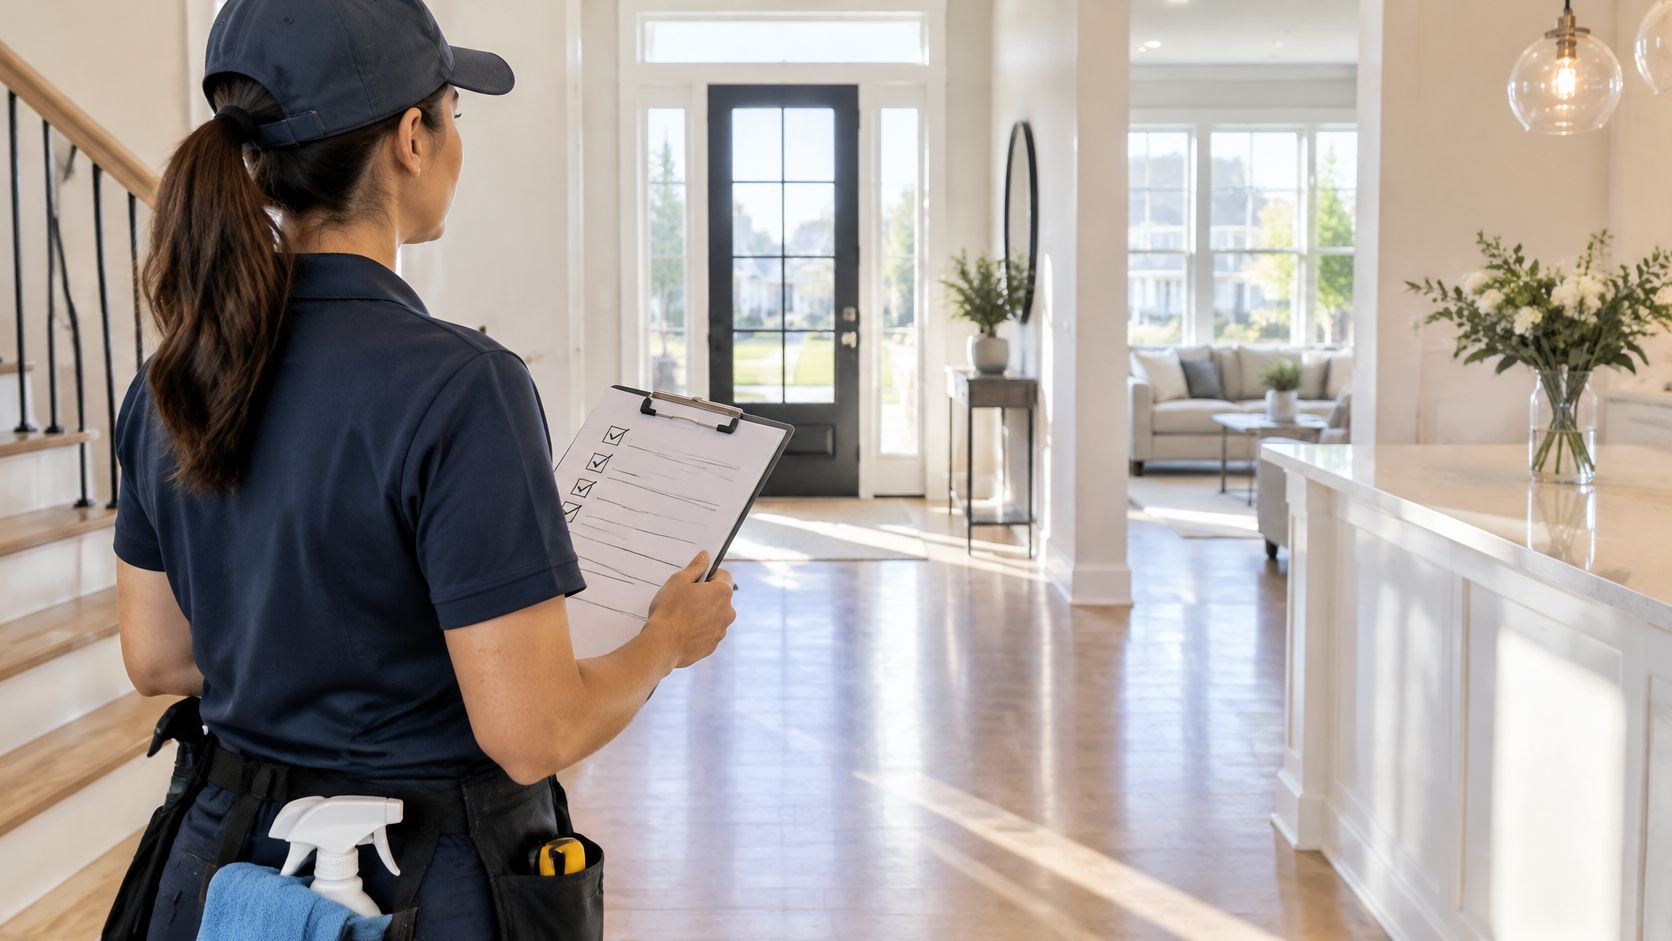
The walk is not a victory lap. It is the only time you see the house the way an inspector or a new tenant will. Do it with the lights you will use, plus daylight. Dust on blinds and a thumbprint on a switch disappear under a work lamp and show up at noon.
Agree the list with the client or site supervisor before the first day, not at the door. A property-manager turnover often fails on smudged plates and dusty blind slats. A builder handover works better when the cleaner and the supervisor walk together and mark what is cleaning versus what is still a trade defect.
What “complete” is allowed to mean
Rough debris can leave early. The detailed clean and the occupancy sign-off may need a second visit after wet products have cured and the space has been ventilated to the product sheet. Record product types, stated cure times, odor, and any surface that must stay dry. Cleaners remove dust and residue. They do not certify air quality or finish hazardous-material clearance.
- Room sign-off: Floors, glass, fixtures, storage, and vents, with exceptions written, not remembered.
- Photos: One set per room for the file, taken after touch-up, not during it.
- HVAC last: Registers uncovered and the system restarted only after the recheck, so you are not blowing a final film onto wet glass.
A checklist without names and dates is a suggestion. A signed walk is what keeps the do-over off your schedule.
Post Construction Cleaning Checklist Steps at a Glance
| Step | Main Focus | When to Do It | Common Pitfall |
|---|---|---|---|
| Initial Debris Removal and Site Sweep | Clear bulk debris and sweep work areas | First, before fine-dust cleaning | Heavy waste may need separate hauling; sharp debris poses safety risks |
| HEPA Vacuuming of Surfaces, Vents, and Crevices | Capture fine construction dust from surfaces and vents | After bulk debris removal, before wiping | Standard vacuums can recirculate fine dust |
| Dust Wiping of Horizontal and Vertical Surfaces | Remove remaining dust from ledges, frames, and other surfaces | After vacuuming, working from top to bottom | Wrong cloths or cleaners can leave streaks or damage finishes |
| Window and Glass Cleaning with Film and Paint Removal | Remove dust, paint, plaster, film, and adhesive from glass and frames | After dusty cleanup and before final inspection | Scrapers can scratch glass or damage coated windows |
| Floor Cleaning: Vacuuming, Mopping, and Residue Removal | Remove dust and residue from floors and carpets | Near the end, after other cleaning tasks | Wet mopping too early can spread dust; harsh solvents can damage finishes |
| Bathroom and Kitchen Fixture Detailing | Clean fixtures, appliances, cabinets, and surfaces | After construction residue is cleared, before handover | Abrasive or acidic cleaners can damage sensitive finishes |
| Interior Cabinet, Closet, and Drawer Cleaning | Remove dust and residue from built-in storage | Before occupants move in, after major dust-producing work | Adhesive and labels can be stubborn; numerous storage spaces add time |
| Final Walkthrough and Punch-List Touch-Up | Inspect rooms and correct missed spots | Last, before inspection, listing, or occupancy | Unclear scope can lead to disputes; the review can extend the schedule |
When to Hand the Checklist to a Professional Crew
You can run this post construction cleaning checklist on a small bath or a single-room refresh if the debris is light and you own a true HEPA vacuum. Whole-home drywall dust, adhesive film, and grout haze are a different job. The sequence still matters, but the time and the gear usually do not fit a weekend.
Fine particulate is the hard part. A household vacuum recirculates what a HEPA unit holds. Scraping glass, lifting haze, and detailing every drawer also stack hours once the house is more than a couple of rooms. I recommend a dedicated crew when the next event is an inspection, a listing photo day, or a move-in with a fixed date. Missed order on that timeline means a second full pass, not a quick touch-up.
In Orlando and Central Florida, J&M Cleaning Team handles post-construction cleaning as a one-time service starting at $665. Bonded, insured, background-checked technicians bring commercial-grade, family-safe supplies, which fits final inspections and move-in readiness. Call (407) 668-0041 for a flat-rate quote from the online tool, and walk into a home that is clean past the first glance.
---
If the dust, film, and fixture work on your renovation need a crew that already runs this order, J&M Cleaning Team's post-construction cleaning is built for Orlando and Central Florida handovers. We clear debris and fine residue so the home is ready for inspection or move-in, with background-checked technicians and family-safe supplies. Visit J&M Cleaning Team to book a flat-rate quote and a time that matches your walkthrough.