
The window over the kitchen sink slides four inches and stops. You work a fingernail into the track and pull out a grey ribbon of grit that smells faintly of wet dust, and somewhere behind the sash a roller is grinding over sand.
That's the moment many grab a spray bottle, and it's when the job starts going wrong. Wet dust turns to paste, paste packs into corners and rollers, and the small drainage slots at the outer edge of the frame stop passing water. Thirty seconds of spraying results in twenty minutes of scrubbing and a track that holds rainwater until the next storm finds it.
Cleaning window sills and tracks properly is a dry-first job with a material check at the front and a drainage test at the back. The sequence below works on vinyl sliders, painted wood double-hungs, aluminum storm windows and tile sills, and it takes about twenty minutes a window once the kit is assembled.
Gather the Right Tools and Prep the Room
Put the whole kit within arm's reach before you touch the sill. You'll use most of it in one pass, and walking back to the cupboard with wet hands is how detergent ends up on the floor.
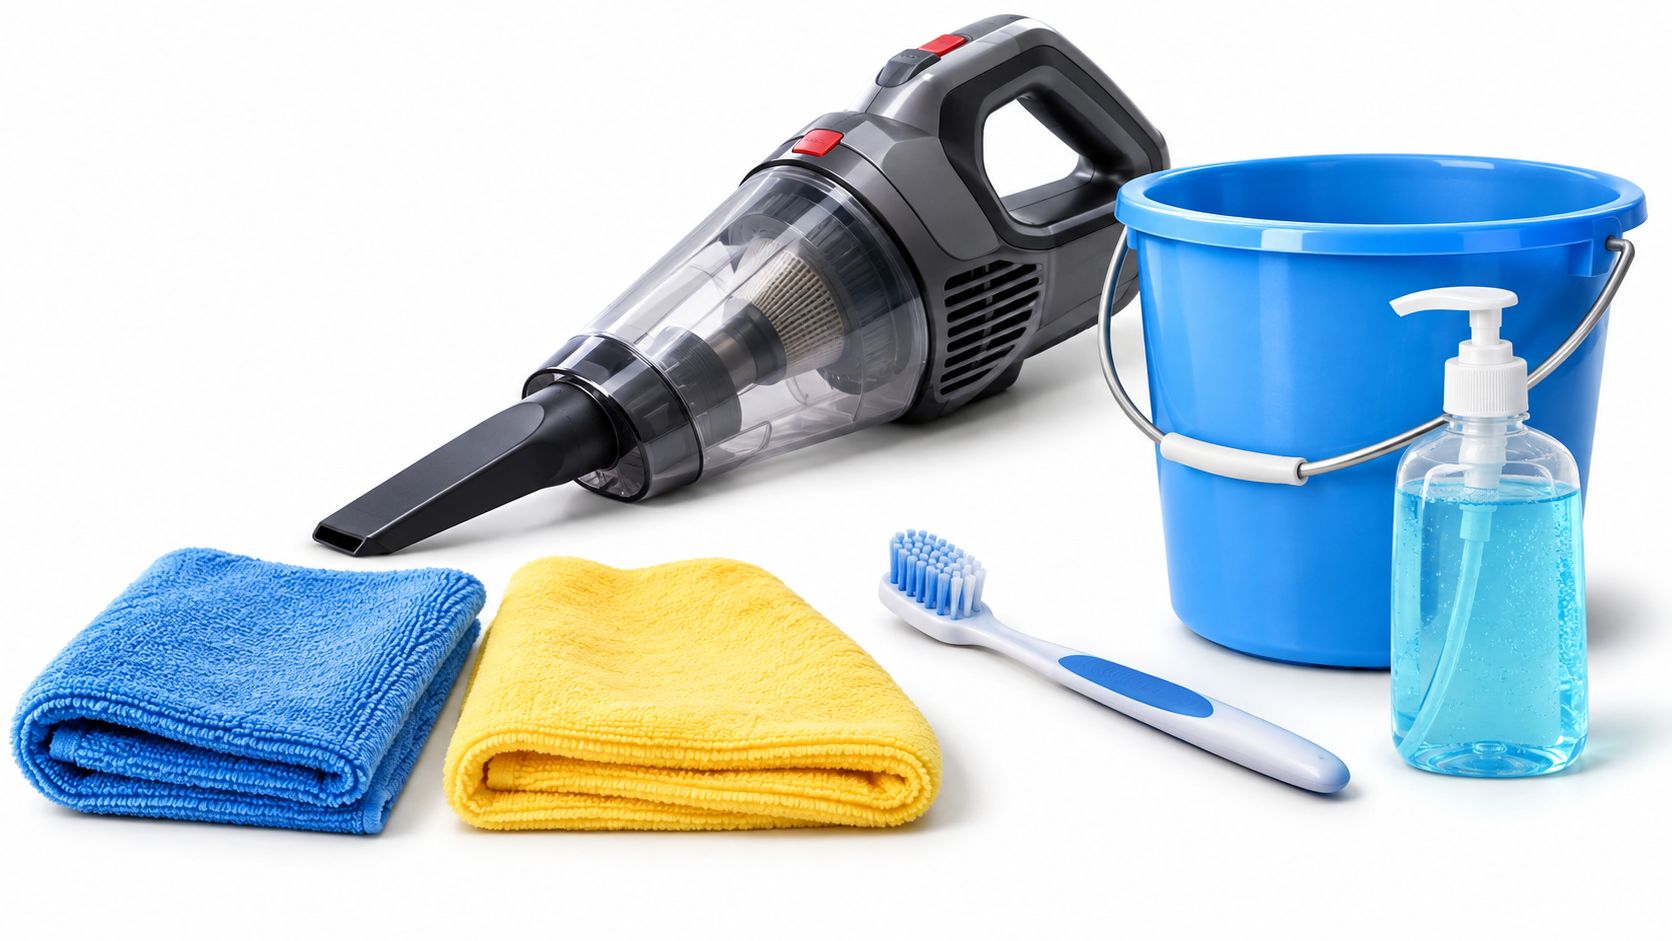
Two microfiber cloths. One stays dry for the first dust pass, one gets wrung until it's barely damp for the wipe. A single cloth turns into a smear.
A vacuum with a narrow crevice tool. The crevice tool reaches the lip behind the sash. A soft brush attachment is gentler on painted rails.
A soft detailing brush or an old toothbrush. For corners, rail tops and the weep channel. Nylon bristles only, nothing stiffer.
A plastic scraper or a retired credit card. For compacted grit the brush loosens but doesn't lift. Never metal.
Cotton swabs. They fit the weep openings without widening them.
A small bowl of warm water with a few drops of mild dish detergent. Not a spray bottle. You want control over how much liquid goes on, and a wrung cloth plus a bowl gives you that.
A clean towel. One for the floor under the window, one for drying the track.
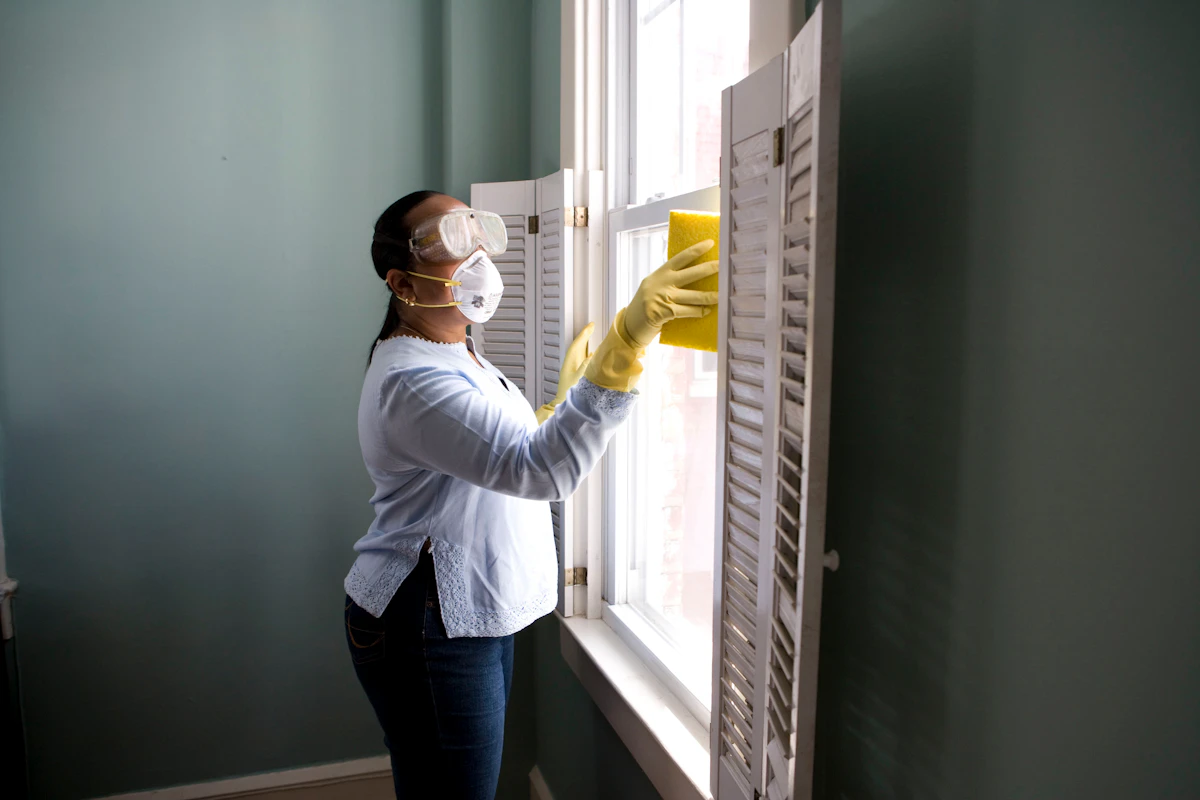
Gloves and eye protection. Non-negotiable if anything beyond soap is in play.
Clear the sill first. Plants, photo frames, curtain brackets and the small collection of shells all have to move, because you can't vacuum a surface you can't see. Lay the towel on the floor to catch drips and give dropped screws somewhere soft to land.
Check the manufacturer's manual on sash removal before lifting anything. Many sliders and patio doors let the moving panel lift straight out of the track, which opens the full channel to the vacuum. Casements and older double-hungs often don't, and forcing one is how balances get bent. Open the window while you work, particularly if diluted bleach enters the picture later.
Two habits protect finishes. Test any cleaner on a hidden patch of frame, wait ten minutes, and look for dulling or tackiness before it goes near the visible sill. Then confirm the sill is dry before you start, because a damp cloth on damp wood drives detergent into the grain and dries to a film. If you're restocking a caddy from scratch, this guide to house cleaning supplies sorts what earns a place from what stays in the cupboard.
Clean Sills and Tracks Step by Step
The cleaner follows the sill material, not the severity of the stain. Find your row before anything gets wet, and patch-test on a hidden corner of the frame.
| Sill material | Safe cleaner | Avoid | Drying note |
|---|---|---|---|
| Vinyl or uPVC | Mild dish detergent in warm water | Abrasive powders, solvent cleaners, steam | Wipe and dry at once; check the track for standing water |
| Painted wood | Mild detergent with a barely damp microfiber cloth | Soaking, steam, bleach | Dry quickly to protect the paint and the wood under it |
| Aluminum | Mild detergent, or diluted white vinegar after a patch test | Steel wool, harsh alkaline cleaners | Dry thoroughly to prevent white oxidation marks |
| Stone or tile | pH-neutral cleaner | Vinegar on marble or limestone | Rinse residue and dry the surface |
| Unfinished or MDF wood | Dry brushing, then a barely damp cloth | Liquid soaking, bleach | Dry immediately, since wood swells when water sits |
When the material is unknown or the frame is a composite you can't identify, fall back to a few drops of mild dish detergent in warm water, a cloth wrung until it stops dripping, and a full dry afterwards. The order of operations matters more than the product.
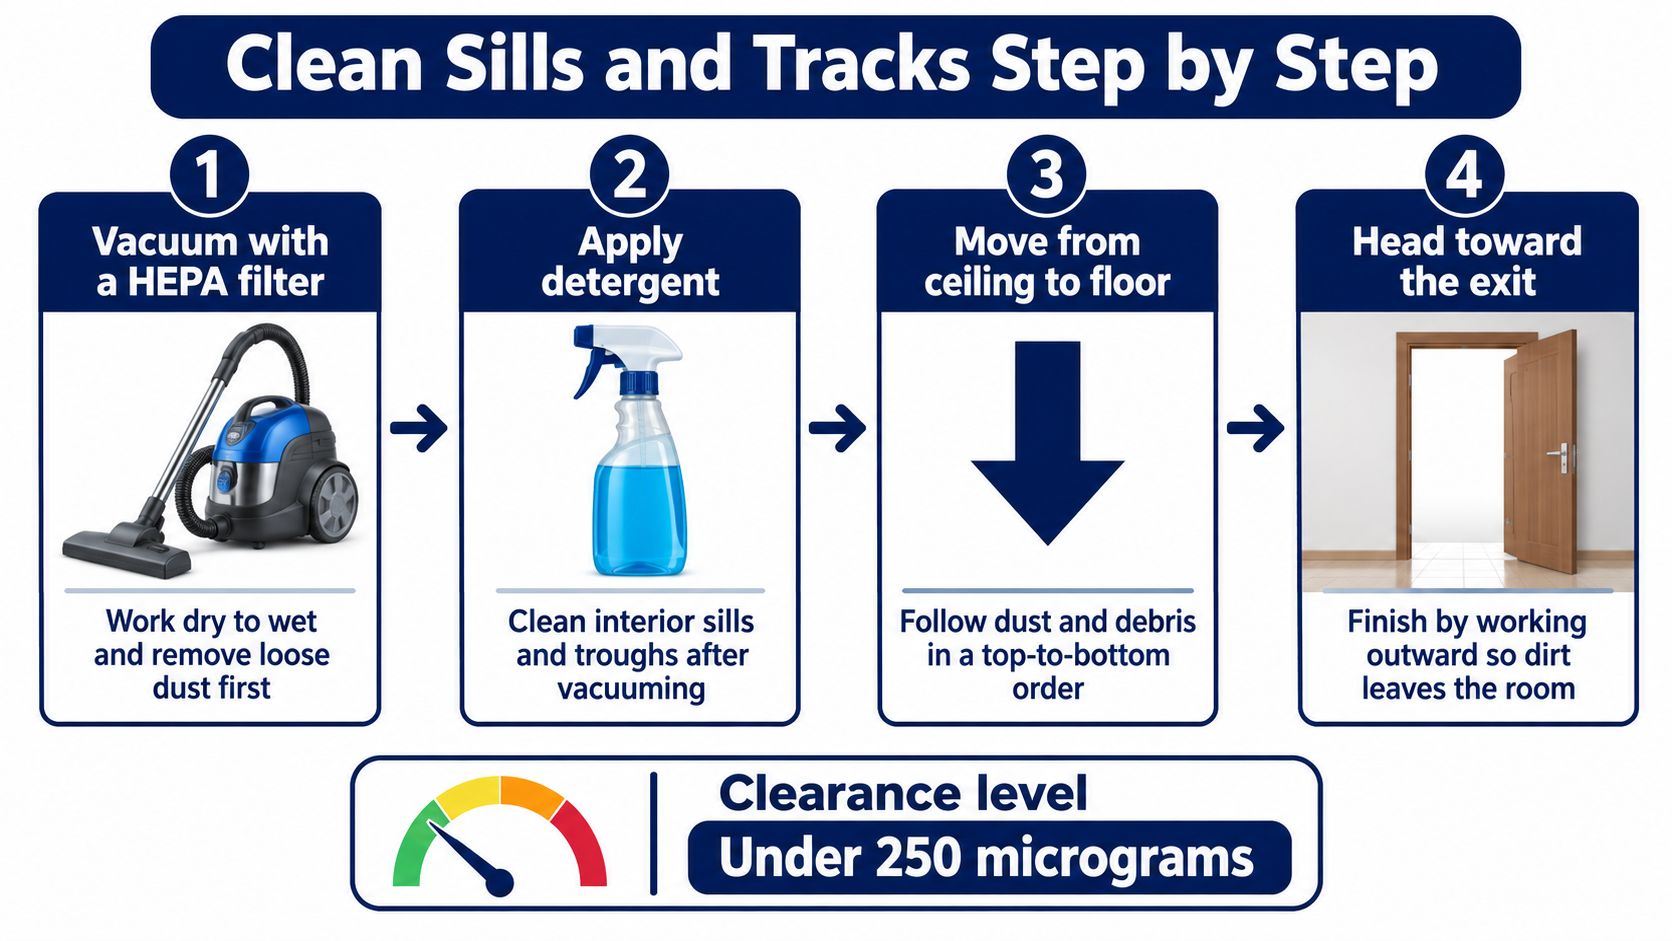
The sequence below keeps dust out of the drainage path instead of pushing it deeper, and it's worth reading once before you pick anything up.
The seven steps from dry to wet
1. Lift the sash if the manual allows. Full access to the channel is the difference between a clean track and a clean-looking one. Set the panel somewhere it can't tip.
2. Vacuum toward yourself with the crevice tool. Slow passes along the front rail, the rear rail, both end pockets and the sill. High-dust work has an established order, and the U.S. Department of Housing and Urban Development guidance covers interior window sills and window troughs directly: vacuum with a machine fitted with a HEPA exhaust filter, then wet clean with detergent, working from ceiling to floor and toward the exit so loose dust doesn't settle back onto what you just cleaned. The same document shows why a quick surface wipe isn't the standard here. Its lead-dust clearance levels are less than 250 micrograms per square foot on interior window sills and less than 400 micrograms per square foot in window troughs, against less than 40 micrograms per square foot on floors. Those are lead-hazard thresholds, not housekeeping targets, but the ranking tells you what the recess does: it holds far more settled dust than the floor beneath it.
3. Brush the corners and weep channels, then lift compacted grit with the plastic scraper. Work the loosened material toward the open centre of the channel, never into the openings. The MI Windows care guidance recommends vacuuming loose debris out of the roller track before finishing with soap and water, and calls for soft cloths or soft-bristle brushes on textured surfaces so grime isn't embedded further into the grooves.
4. Wipe along the channel with a nearly dry cloth and a few drops of detergent. Short passes, working the length of the channel, not a flood. Let a damp cloth rest on stubborn film for a minute to soften it rather than scrubbing harder. If you're reaching for bleach on a hard, non-porous surface, the Centers for Disease Control and Prevention guidance caps household bleach at no more than 1 cup per 1 gallon of water, warns never to mix it with ammonia or other cleaners because toxic gas can result, and advises ventilation, gloves and eye protection.
5. Rinse with a clean, barely damp cloth. Detergent film attracts dust and shows up as a haze on aluminum within a week.
6. Dry the track completely, then leave it open for a few minutes. Prompt drying is the whole point: the CDC recommends drying wet surfaces and contents as quickly as possible, ideally within 24 to 48 hours, because mold takes its opening while the material stays damp.
7. Reinstall the sash and slide it through the full travel. It should move without catching. If it still drags on a spotless track, the roller or the balance is the problem, not the dirt.
What to leave in the cupboard
No metal blades, no abrasive powders, no aggressive scrubbing. Those three scratch vinyl, dull painted finishes, deform pile weather-stripping and strip protective coatings, as the manufacturer guidance above sets out. Don't lubricate a dirty track either. Oil binds dust and interferes with the rollers, and a lubricant belongs on the track only when the window maker specifies the product and the application point. Corners and weep openings deserve their own careful pass, because debris there obstructs drainage and contributes to water intrusion, and overspray forces moisture into frame cavities.
Finished work looks like three things: empty grooves with no grey line along the bottom corner, a sill that feels dry to the back of your hand, and a sash that glides.
Keep Water Out of the Wall and Frame
Water is the part of this job that causes damage. A soaked sponge, a hose, or a spray bottle aimed into the channel all send liquid past the sill and into the frame cavity, where it sits against wood, insulation and drywall with nowhere to drain. The only moisture that should touch a track is what's left in a cloth wrung until it stops dripping.
Advice on this subject often hands out one universal recipe, but tracks are vinyl, painted wood, aluminum, stone or uPVC and each responds differently. Running water or hose rinsing can migrate beneath the sill and into the wall cavity, and steam requires material compatibility plus immediate wiping, which is why a low-moisture, material-first method beats a stronger mixture every time (BISSELL).
Find the weep openings before you clean
Tracks are designed to shed rain through small weep holes, usually on the outer face of the sill, sometimes hidden under a snap-in insert or sitting between stacked units. Locate yours with a dry pass of the vacuum and a cotton swab. A soft brush or a swab clears grit; a screwdriver or metal pick can chew and enlarge a vinyl opening, which leaves you with a leak that didn't exist before you started.
The one test worth doing: pour about a cup of water into the interior track and watch the outside face. It should exit through the weeps within a minute or so. Water that pools means a blocked channel, and the fix is clearing it, not scrubbing harder.
Three habits keep moisture where it belongs. Work with the cloth, never over the openings, so liquid runs away from the frame rather than into it. Keep a towel on the floor to catch the few drips that escape. Close the sash only once the sill and track feel dry to the touch.
After the next hard rain, open that window and look again. Water should leave through the weeps and appear outside, not on the interior sill or the wall below it. Water inside the room means the drainage path is compromised, and that's a repair question, not a cleaning one.
Handle Mold and Moisture on Sills
Dark speckling in the corner of a sill is often just damp dust, but once it returns after a correct wipe, you're dealing with moisture rather than grime. That distinction decides whether an afternoon of scrubbing is worth starting.
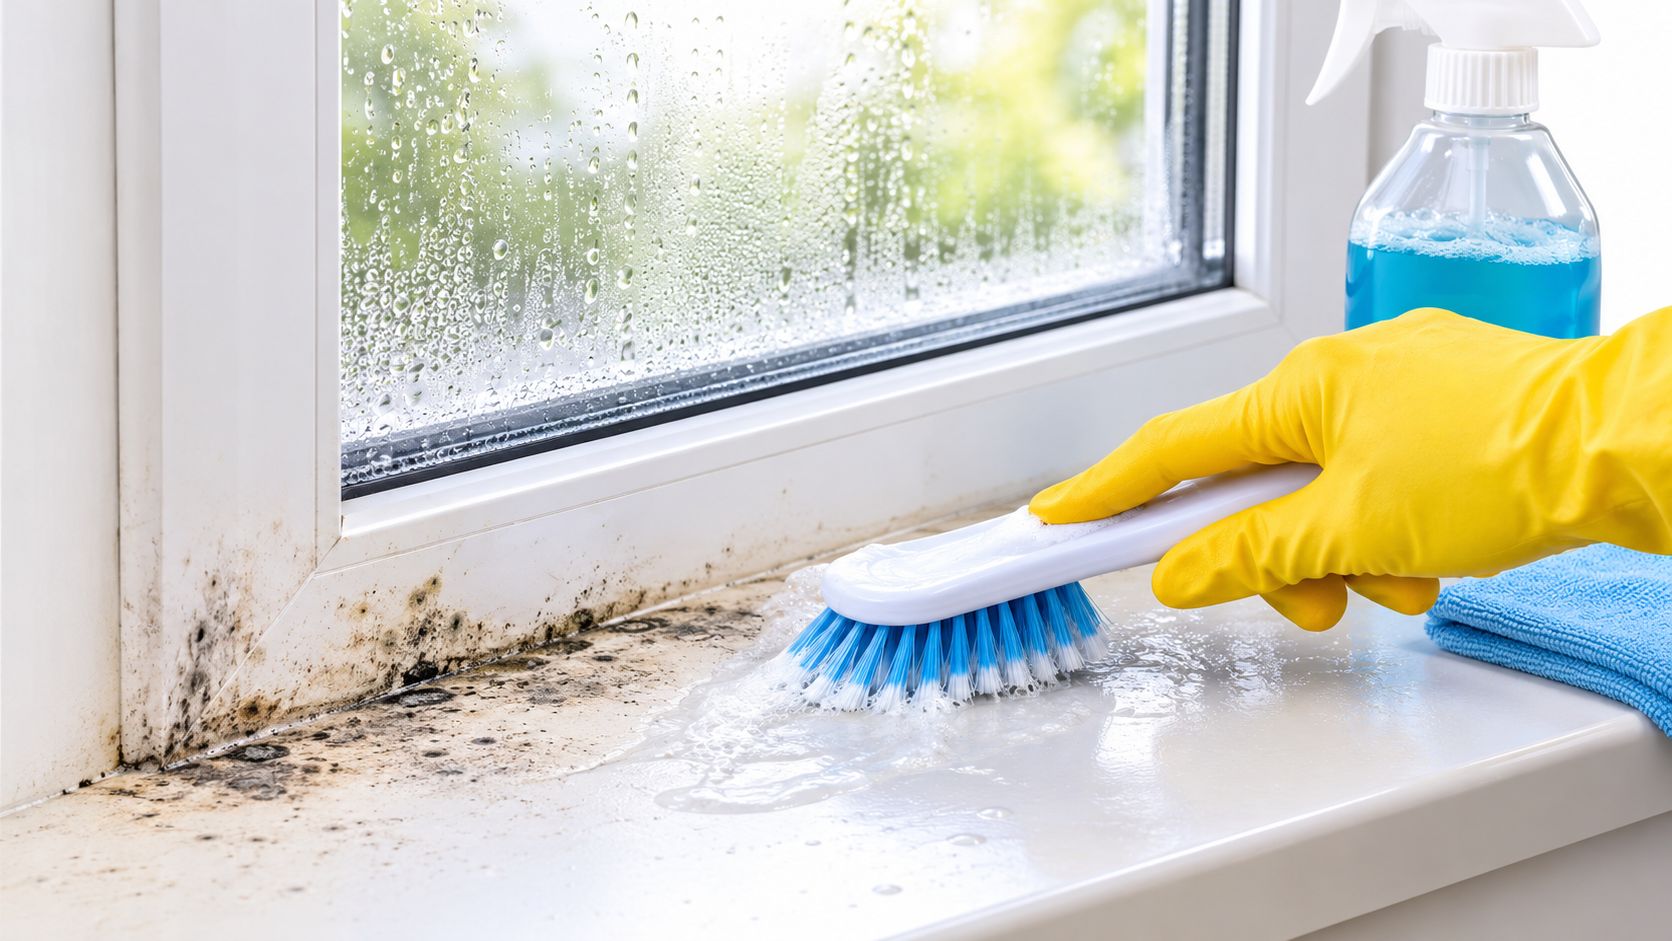
For visible mildew on a hard, non-porous sill, the U.S. Environmental Protection Agency guidance is narrower than the internet suggests. Hard surfaces should be cleaned with detergent and water and dried completely, and the EPA notes that routine use of biocides such as chlorine bleach isn't recommended for mold cleanup. What works is mechanical: gloves and eye protection on, room ventilated, dust removed first, a small test area checked for finish compatibility, then a microfiber cloth or soft nylon brush. Never mix cleaning chemicals. Dry the sill and track immediately with towels.
Then find the reason it grew. Condensation around a window points to excessive indoor humidity or another moisture problem, and the same EPA guidance stresses acting quickly to dry wet surfaces and correcting the source. Improve ventilation, bring indoor humidity down, or repair the leak. Cleaning without that step just resets the clock.
When wiping isn't the answer
Common failure points produce stains, swelling or fast regrowth: saturating wood or MDF sills, leaving detergent film behind, scrubbing porous caulk, and wiping mold off a window that keeps condensing every morning. Porous materials with mold worked into them may need replacement rather than another round of surface cleaning.
Three mornings of notes beat one guess. Mark where moisture beads on the glass and sill at the same time each day, and the source usually names itself: a failed seal, a room that never drops below muggy, or a weep that drains inward instead of out.
The same logic applies anywhere water sits, including grout and caulk, which is why a proper bathroom deep clean routine is mostly a drying routine. A patch larger than a dinner plate, or mold that keeps returning after the source is fixed, is a remediation job rather than a weekend task.
Build a Quarterly Routine and Know When to Call a Pro
A window that faces wind-driven rain or collects pollen may need attention sooner than a sheltered one. Keep routine care dry and light, then do a more detailed clean each quarter.
- Monthly: Wipe the sill and rail tops with a dry microfiber cloth. Vacuum visible grit from the channel and check that the weep openings are clear.
- Quarterly: Repeat the dry-to-wet cleaning sequence, paying attention to corners and drainage openings. Dry the track before closing the sash.
- After storm season: Check for standing water and wind-blown debris. Clear loose debris from the weeps so water can drain outward.
Surface grime and a freely moving sash are usually manageable with routine cleaning. Call for help if mold returns after the moisture source is addressed, the track is cracked or stained into the frame, or the weep openings remain blocked after careful clearing. A move or property handover can also make a professional turnover clean more practical.
J&M Cleaning Team's Move-In VIP Package includes interior window panes, sills and tracks as part of a detailed scrub of a vacant home. The team brings commercial-grade equipment and non-toxic products.
Put the monthly dry wipe and quarterly clean on a house cleaning planner alongside other routine tasks. Start with the windows most exposed to weather, then use their condition to judge whether the remaining tracks need attention now or can wait.
If a move is approaching or a track needs more than routine cleaning, J&M Cleaning Team serves Orlando and nearby Central Florida metros, including Tampa. The Move-In VIP Package covers interior window panes, sills and tracks, and an instant online quote tool provides an exact flat-rate price in about a minute.