The scuff sits beside the light switch, at shoulder height, exactly where every hand in the house lands. A damp sponge lifts it in about four seconds. Then the wall dries, and there's a soft, shinier ring where the sponge went, roughly the size of a dinner plate, that won't wash out and won't wipe away.
That ring isn't dirt. It's the top of the paint film, polished smooth.
Damage to interior paint comes from wet abrasion, the combined effect of moisture, pressure, friction, tool stiffness and repeated passes. The detergent is almost never the culprit. A mild soap that could not harm a finish will still burnish a matte wall if you lean into it. Once that's clear, washing walls stops being a search for a stronger product and becomes a matter of controlling four things: how wet, how hard, how rough and how many times.
What follows covers routine care of sound, painted interior walls. Not wallpaper, not decorative coatings, not mould treatment, and not the prep you'd do before repainting.
"Wash Painted Walls Step by Step, Starting with the Test"
The sequence below controls all four variables. Work in this order and don't skip ahead, because each step exists to make the next one safer.
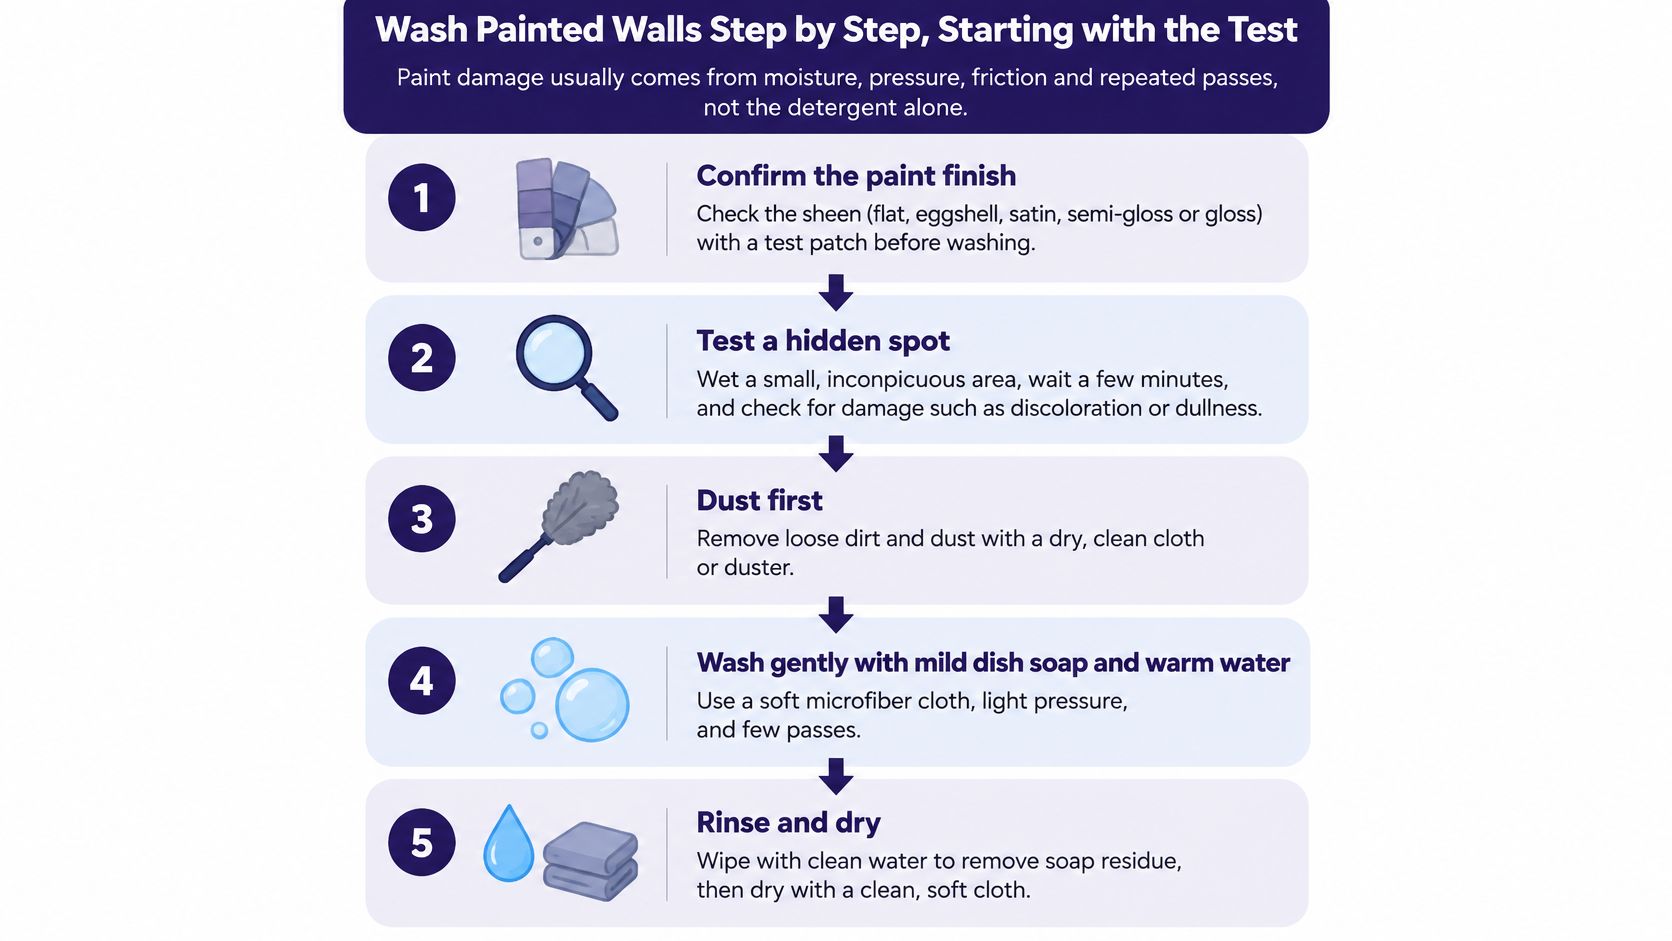
1. Confirm the coating has cured. Freshly painted walls should generally remain untouched by water or cleaning solutions for at least 14 days, per Sherwin-Williams paint and stain maintenance guidance. Dry to the touch is a different stage from cured.
2. Identify the sheen before anything wet touches the wall. It sets the pressure ceiling for every step after this one.
3. Dust from the ceiling down with a soft microfiber cloth or a vacuum brush. Loose grit is the abrasive that scratches a film during wiping, and dusting first removes most of the need to rub. If you're working through a whole home, this slots neatly into a room-by-room cleaning sequence.
4. Run the test on a hidden spot, behind a door or inside a closet, using the same cloth, the same solution and the same pressure you plan to use across the wall. Let it dry completely, then look at it in side light. It passes only if the surface stays bright with no water marks, no dull or polished patch, no colour on the cloth and no change in sheen. A failed test means a gentler method, a spot repair or a repaint. It never means a stronger cleaner.
5. Mix mild, pH-neutral dish soap into warm water and fill a second bucket with clean rinse water.
6. Wring the cloth until it's barely damp. Dripping cloths streak the finish and push water into edges and seams where the film can lift.
7. Wash in sections of about 2 to 3 square feet, working from the bottom upward so dirty runoff never crosses paint you've already cleaned.
8. Rinse the cloth in the clean water, wring it again and wipe off the residue. Skipping the rinse leaves a soap film that attracts dust.
9. Dry each section immediately with a clean dry cloth. Moisture left sitting is moisture still working on the film.
The Stop Rule That Saves the Finish
The moment removing a mark requires more pressure, stop. That isn't a suggestion about effort, it's a technical limit. Once soil removal needs force, repeated passes start changing gloss and burnishing the surface even while the wall looks cleaner to you.
The stop rule: if the cloth has to work harder, the wall is losing. Put it down and reassess.
There's no universal number of scrubs a wall can take. ASTM D2486 measures wall-paint durability as cycles to failure, and ISO 23169 separately evaluates on-site stain removal and wet-scrub resistance, but neither standard supplies a household safe scrubbing count, because results shift with paint formulation, sheen, cure time, substrate, applicator and the soil itself (ASTM D2486). Treat flat, matte and recently painted surfaces as the high-risk group, use the lightest pressure and the shortest contact time, and follow the coating manufacturer's care instructions when you have them.
"Check Your Paint Finish Before You Clean"
Two hallways, same colour, same paint brand, same bottle of soap. On one, the scuff lifts in a single pass. On the other, one firm wipe leaves a dull oval that is still visible a year later. The cleaner didn't decide that. The finish did.
Flat and matte paints carry more pigment and less binder at the surface, which is why they hide wall imperfections so well and why they show burnishing so fast. Pressure and repeated passes polish the film or lift it. Semi-gloss and gloss hold up to a firmer, quicker wash without complaint. Eggshell and satin sit between the two, and closer to matte than many assume.
| Paint finish | Tolerance to scrubbing | Safe approach |
|---|---|---|
| Flat or matte | Lowest | Dust first, barely damp cloth, light touch only |
| Eggshell | Low | Mild soapy water, short contact, no scrubbing pressure |
| Satin | Moderate | Mild soapy water, test a small area before the full wall |
| Semi-gloss | High | Mild soapy water, normal pressure in small sections |
| Gloss | Highest | Mild soapy water, still rinse and dry promptly |
Reading the Sheen Off the Wall
Start with the paper trail. Check the paint can, the store colour label, the painter's invoice or a paint record kept with the household documents. A colour name alone won't identify the coating.
With no record, look at the wall itself. Stand at a low angle in daylight and watch how the surface handles reflection. A sharp, defined reflection points to semi-gloss or gloss. A soft, diffuse glow means flat or matte. Anything blurred but present is usually eggshell or satin.
Sheen is a clue, not a licence to scrub. Two paints labelled matte from different product lines can behave quite differently under the same cloth, so the test spot still decides.
The rule to carry through the rest of this job: the lower the sheen, the lighter the touch, the shorter the contact time, and the smaller the test area.
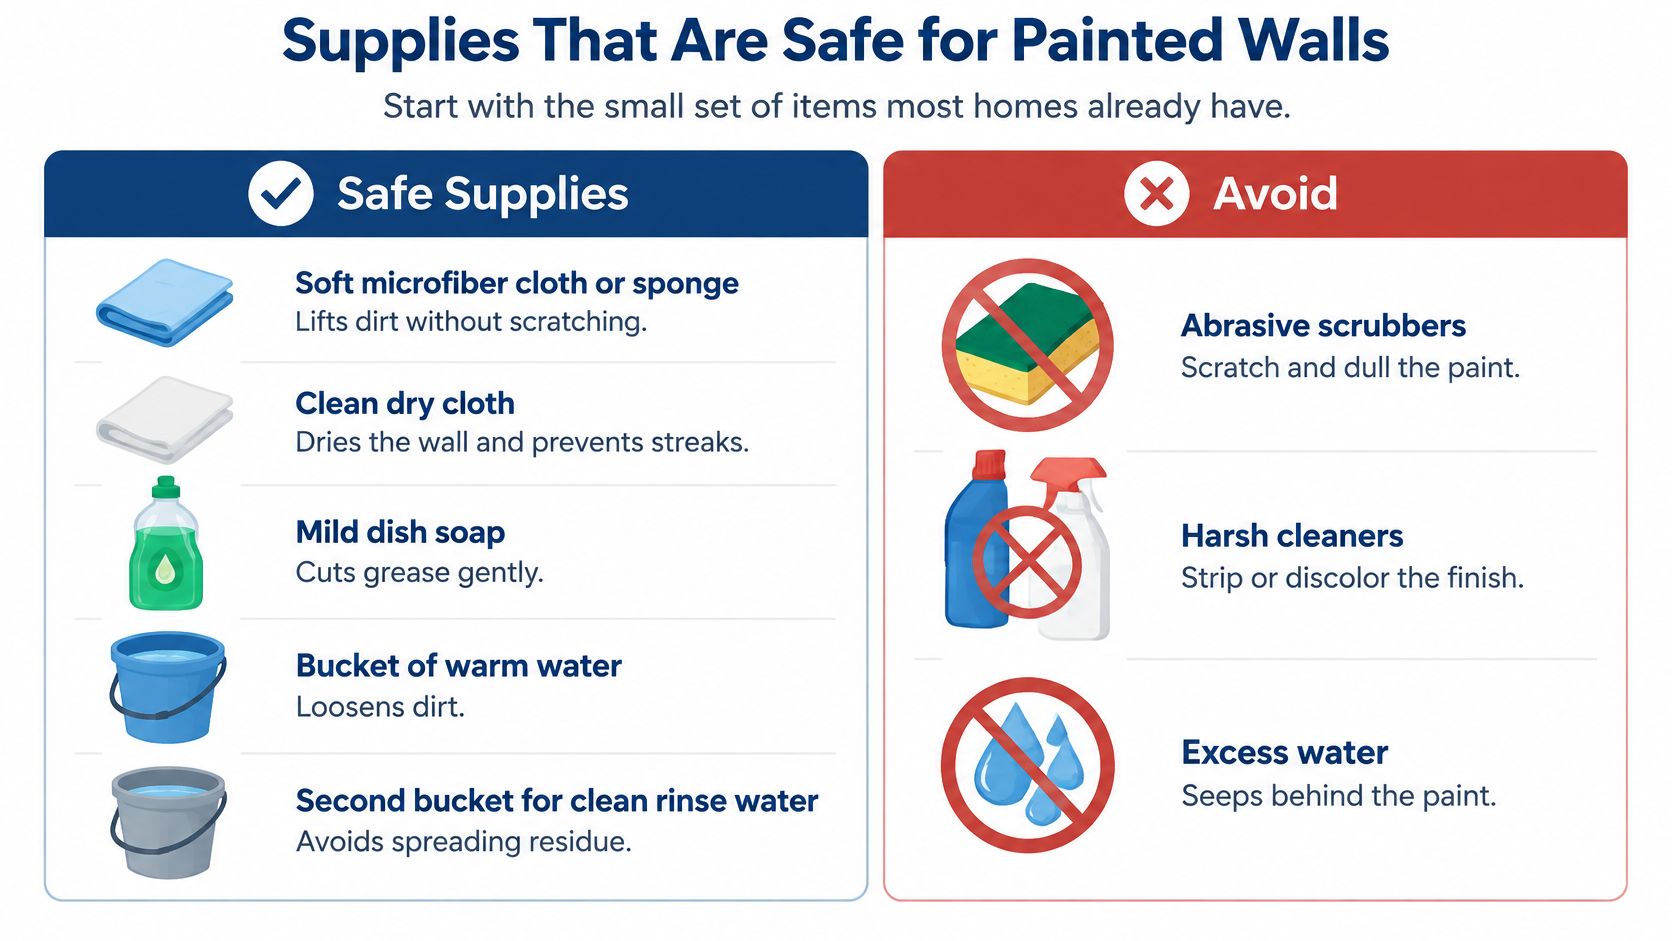
"Supplies That Are Safe for Painted Walls"
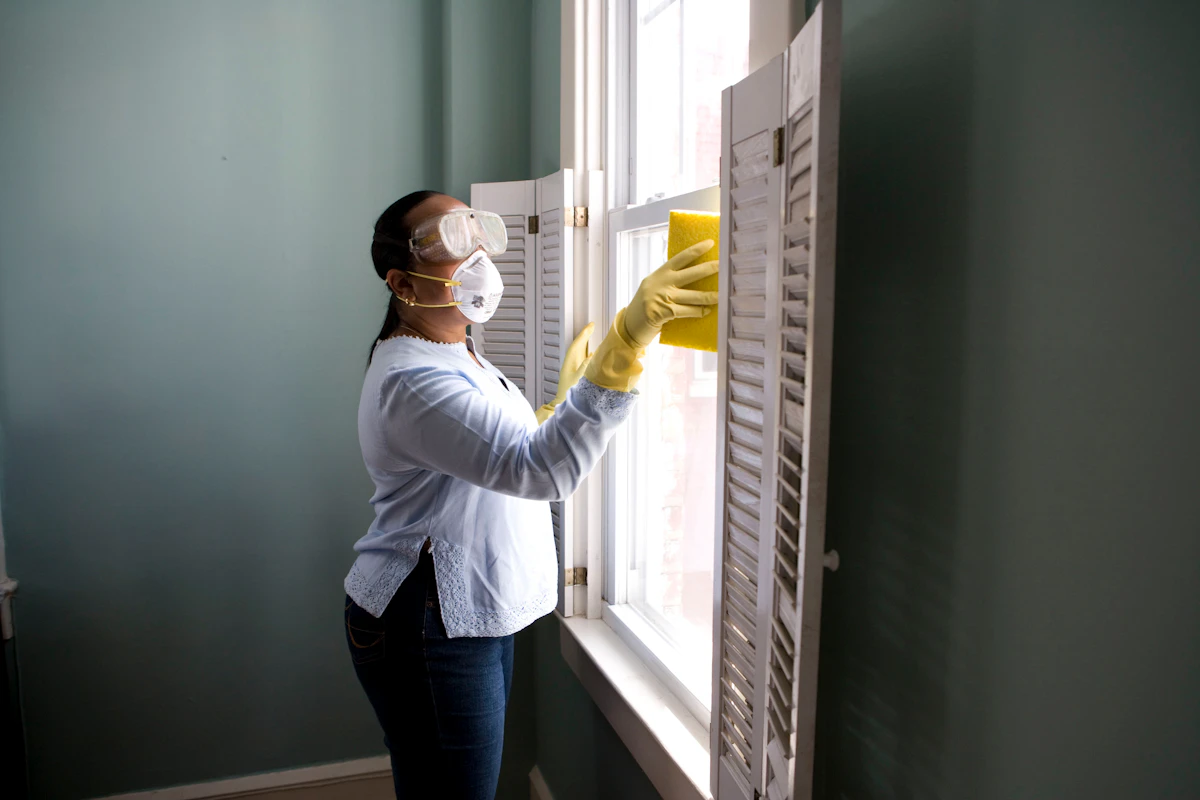
The kit is short and most homes already own every piece of it: a soft microfiber cloth or sponge, a clean dry cloth, mild dish soap, a bucket of warm water, and a second bucket of clear rinse water. The second bucket is the step people skip, and it does the most work. You wash a section with the soapy cloth, rinse that cloth in the clean water, wring it nearly dry, then take off the residue. Dirty solution never gets carried back onto the paint. Here's the full house cleaning supplies list if you want the wider cupboard organised the same way.
Dust Is the Abrasive You Bring to the Wall
Dry material does more damage than wet material on painted walls. Dust, grit and renovation residue become sandpaper under a cloth. The EPA lead-safe renovation guide sets the direction of travel clearly: clean walls from ceiling toward floor with either a HEPA vacuum or a damp cloth, and avoid dry scraping or sanding because that generates hazardous paint dust and chips.
| Item | Use it for | Avoid it because |
|---|---|---|
| Soft microfiber cloth or sponge | Dusting and washing | Dense scrubbers can scratch the film |
| Mild dish soap in warm water | Routine and greasy marks | Concentrated formulas can strip paint |
| Clean rinse water in a second bucket | Removing residue | Reusing dirty water spreads soil |
| HEPA vacuum with soft brush | Loose dust before washing | Stiff brushes abrade the surface |
| Ammoniated or abrasive cleaners | Nothing on painted walls | Can harm waterborne paint films |
| Melamine erasers or stiff pads | Stubborn marks | Act like fine sandpaper on low-sheen paint |
Melamine erasers deserve their own warning. They work by micro-abrading the surface, which is fine on tile and sink enamel and destructive on a low-sheen wall, where they leave a permanent polished spot that catches light from across the room. Stiff brushes do the same thing faster.
The usual cause of wall damage is rarely the soap. It's concentration and dwell time. A few drops of dish soap in a bucket of warm water is a very different product from a spray bottle of degreaser left sitting on the paint for five minutes.
This walkthrough covers the same ground visually if you'd rather see the pressure and pace before you start.
"Know When to Stop Cleaning and Repaint"
More cleaning is not automatically safer. A greasy handprint near a door frame usually comes most of the way out with one light pass. The second and third passes are what turn it into a shiny patch, and at that point the mark people notice is the one you made.
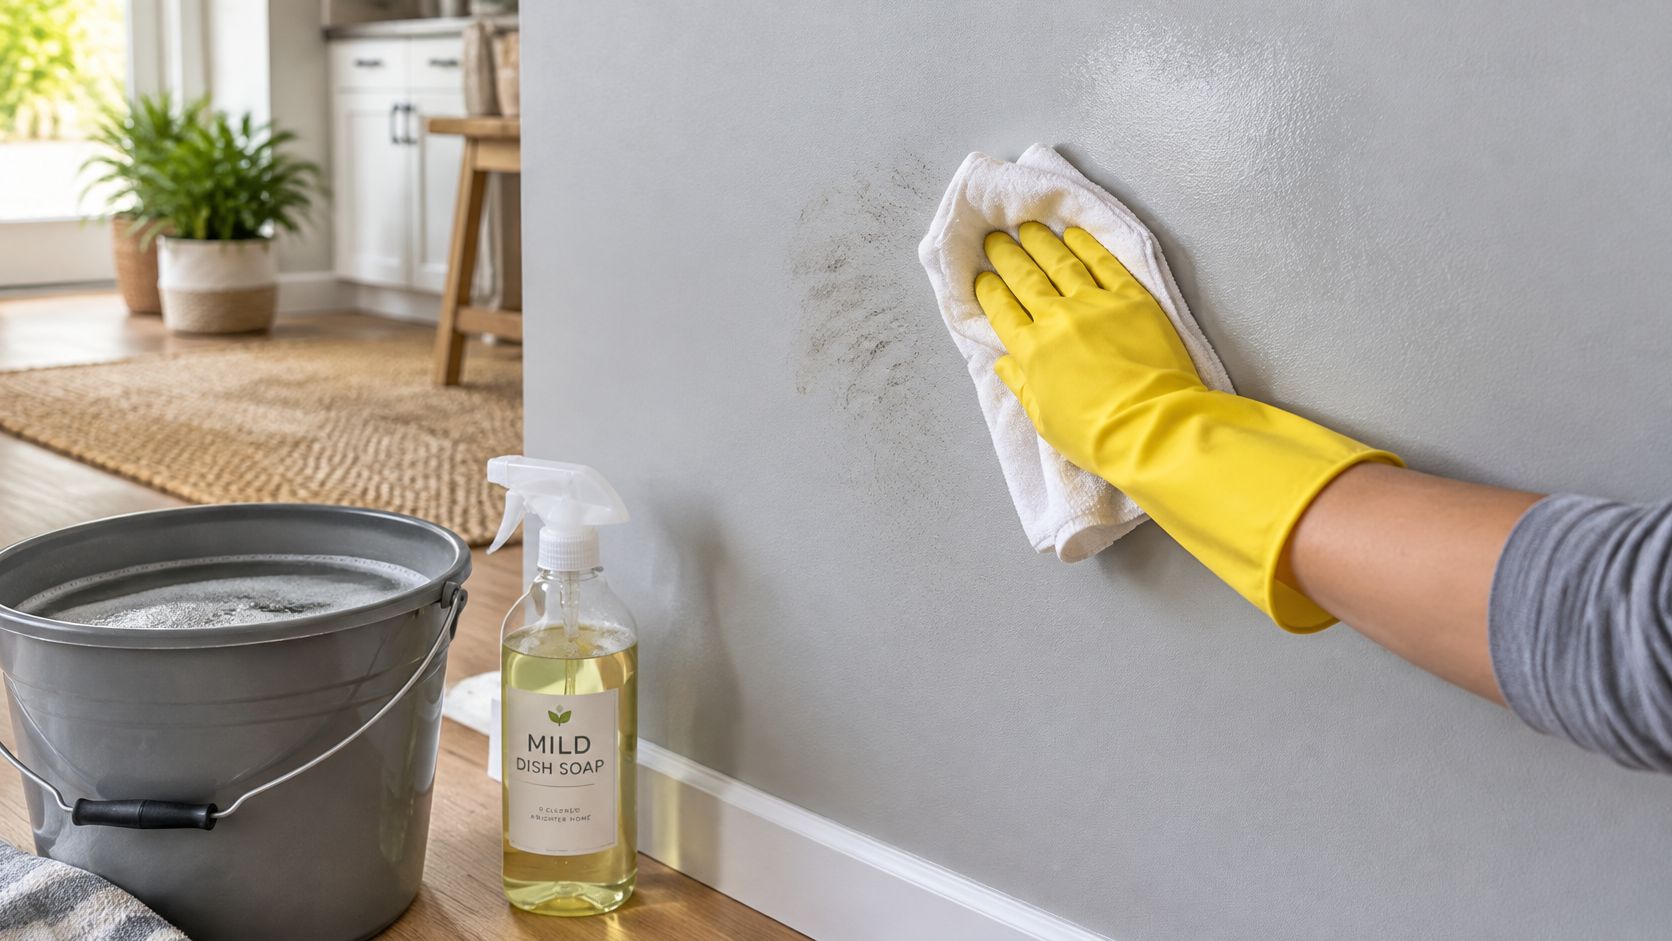
Repeated rubbing on a low-sheen wall can burnish the surface permanently, which leaves a small mark more noticeable than the original dirt (Sherwin-Williams wall cleaning guide). That's the trade you're making every extra pass.
| Symptom | Likely cause | What to do |
|---|---|---|
| Colour transfers onto the cloth | Paint not fully cured or a soft finish | Stop, let it cure longer or leave the mark |
| Shiny or polished patch | Burnishing from repeated rubbing | Stop and plan a spot repair or repaint |
| Darker water marks | Too much moisture | Blot dry, stop wetting, consider repainting |
| Sheen changes after drying | Solution or pressure altered the film | Stop and plan a repaint of the wall |
| Stain stays after light cleaning | Grease, smoke or marker | Spot-repair with matching paint or repaint if large |
Before any large-area wash, photograph the wall from two normal viewing angles in the room's usual light. It takes twenty seconds and it settles the argument later about whether the finish changed or was always like that. A photo won't measure sheen, but it will tell you whether the patch you're worried about is new.
A stain that is harmless to leave for another month is usually a better outcome than a burnished patch on a fragile finish.
Some marks are cheaper to live with than to fix. Deal with them when you're ready to repaint the wall, not with a scrubbing pad on a Sunday afternoon.
"Repair a Spot Instead of Scrubbing Again"
When a patch is already shiny, or a stain has survived a light pass, the next move is a spot repair. More cloth won't help a finish that has changed.
1. Confirm the coating has cured. If the wall was painted recently, that clock hasn't run out yet.
2. Take the can or the store colour label to the shop so the match uses the same sheen. A perfect colour in the wrong sheen still reads as wrong on the wall.
3. Test the paint on a hidden spot and let it dry under the same light as the room, not under a work lamp.
4. Dust the repair area, then apply a thin coat with a small brush, feathering the edges into the surrounding wall so no hard line is left behind.
5. Let it dry fully, then check it in side light from the angle the room is normally viewed at, usually from the doorway.
6. Plan a full repaint of the wall if the repair shows from several angles or covers more than a small area. A wall repainted edge to edge is the only way to keep the sheen uniform.
Flat finishes reflect light differently in a repaired patch even when the colour is exact, so on flat walls a full repaint is generally the only invisible fix. Leftover paint from the original job is the only true match, which is why keeping the labelled can beats any colour-matched substitute.
"Decide Whether to Clean It Yourself or Hire a Professional Team"
The test spot gives you the four facts that settle this: the sheen, the cure date, the size of the job and how visible a mistake would be. A wall that failed the test answers the question for you.
Do it yourself when the paint has cured, the sheen is satin or higher, the test passes and the marks are light. Bring in help when the walls are flat or matte, the room is large, or a feature wall can't take a visible error. Renovation dust is its own category. Fine particulates have to come off before anything wet touches the paint, and a post-construction clean is built for exactly that.
Whoever you hire, ask for proof of insurance and background checks before booking, and treat a vague answer as a no. Ask what happens if a spot doesn't meet your standard, because a written re-clean window beats a verbal promise every time. Our cleaning specialists are professionally trained, background-checked and covered by general liability insurance, and you can request your own preferred specialty cleaners for delicate surfaces. If you're comparing providers, this guide to how to hire a house cleaner covers what to put in writing.
Run the test spot tonight. Write the finish name next to the result, and by morning you'll know whether the wall is a DIY job or one to hand over.
J&M Cleaning Team covers floors, bathrooms, kitchens and the visible surfaces of a home, dusting baseboards and ceiling fans with non-toxic, family-safe products at a flat rate quoted before scheduling. You don't need to be home for the visit, and if any area doesn't meet your expectations, we return to re-clean it at no charge when you notify us within 24 hours. Get an exact quote in about a minute through our online quote tool, or call (407) 668-0041 to pick a time that fits your week.